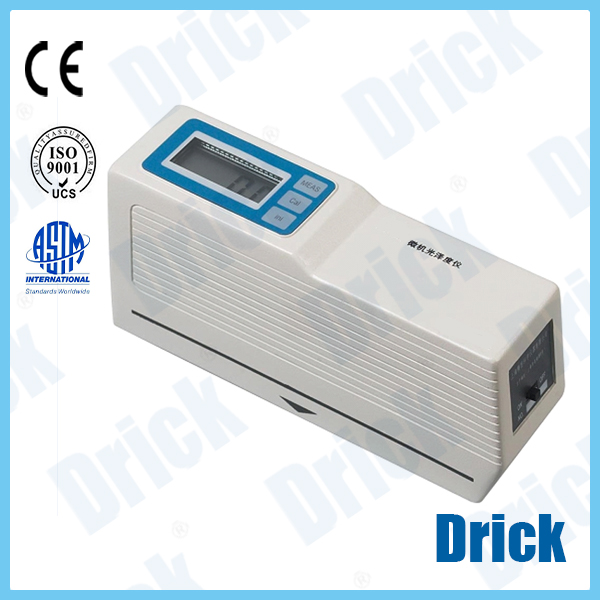
DRK-681 Flex Durability Tester Operation Manual
Short Description:
1. Overview Touch color screen rubbing tester measurement and control instrument (hereinafter referred to as the measurement and control instrument) adopts the latest ARM embedded system, 800X480 large LCD touch control color display, amplifiers, A/D converters and other devices adopt the latest technology, with high precision and high The characteristics of resolution, analog microcomputer control interface, simple and convenient operation, greatly improve the test efficiency. Stable perform...
1. Overview
Touch color screen rubbing tester measurement and control instrument (hereinafter referred to as the measurement and control instrument) adopts the latest ARM embedded system, 800X480 large LCD touch control color display, amplifiers, A/D converters and other devices adopt the latest technology, with high precision and high The characteristics of resolution, analog microcomputer control interface, simple and convenient operation, greatly improve the test efficiency. Stable performance, complete functions, the design adopts multiple protection systems (software protection and hardware protection), more reliable and safer.
2.Main Technical Parameters
|
Items |
Parameter Index |
|
Frequency |
45/min |
|
Route |
155/80 |
|
Torsion Angle |
440/400 |
|
LCD Display Life |
About 100,000 hours |
|
Touch Screen validity times |
About 50,000 times |
Testing Type:
(1)Model A(Route 155mm,Angle440 C,Period 2700)
(2)Model B(Route 155mm,Angle440 C,Period 900)
(3)Model C(Route 155mm,Angle440 C,Period 270)
(4)Model D(Route 155mm,Angle440 C,Period 20)
(5)Model E(Route 80mm,Angle400 C,Period 20)
(6)Testing Type(Route 155mm,Angle440 C,Period Adjustable)
3.Basic Operation
(As shown in the figure, the main test interface is divided into several areas such as the menu area, the test item display area, the control button area, and the test timing display area.)
1.Button operation
When you need to perform a certain function, you can directly touch the corresponding button with your finger. If you control the motor to return, touch the “Return” key with your finger, the Route motor and the torsion motor return at the same time, and the test status display area displays the word “Return”.
2.Mode selection
Touch the corresponding menu in the mode selection area to execute the corresponding function. If you touch the “mode selection” key, the mode selection menu will pop up, and you can select the mode. After you select the test mode, the test name and test display area will change accordingly; touch the “parameter” key, and the parameter input interface will pop up >, parameter settings can be performed.
3.Parameter input
When inputting parameters, touch the parameter input box and the numeric keyboard will pop up. Press the input parameter request on the numeric keyboard and touch the corresponding numeric key to enter the parameter. After inputting, press the “ENT” button to complete the input, this input is valid; press the “ESC” button to cancel the input, this input is invalid.
4.Mode selection
In the menu selection area, touch the “mode selection” key, the mode selection menu will pop up, and the test mode can be selected. After selecting the mode, the test name and test result display area will change accordingly.
The selectable test modes are: mode A, mode B, mode C, mode D, mode E, test mode, etc.
5. Parameters Setting
In the <Main Test Interface>, touch the “Parameter” button to enter the <Parameter Setting Interface>.
In the <parameter setting interface>, the test parameters and LCD brightness adjustment can be performed.
1. Test parameters:
1) Route: Route set in test mode, generally 155mm;
2) Angle: the torsion Angle set in the test mode, generally 440 degrees;
3) Times: The number of test periods set in test mode, which can be set arbitrarily;
2. Brightness adjustment:
As shown in the figure above, the LCD brightness can be adjusted in the <System Parameter Setting Interface>. The larger the value, the brighter the brightness.
6.Testing Process
1) Parameter setting
Check the working mode before the test, and reset the mode if necessary.
If it is the test mode, the Route, Angle, and Period of the test mode should be set in the parameter settings.
2) Test preparation
Touch the “Return” button to return the Route motor and the torsion motor to their initial positions.
Clamp the sample.
3) Test
Touch the “Test” button, the Route motor and the torsion motor will operate at the test frequency specified by the standard until the set period number is reached, and the test is over. The two motors return automatically.
Seven. time setting
7.Time Setting
Touch the time display area at the bottom right of the <calibration interface>, and set the system time on the pop-up numeric keyboard.
8.Print test results
In the <Main Test Interface>, touch the “Print” button to print the test results.
9.Calibration
In the <Main Test Interface>, touch the “Calibration” button, and the password input interface will pop up. Enter the password () to enter the <Calibration interface>. (Except for the legal metrology staff, do not enter the calibration state during the use of this system, otherwise the calibration coefficients will be modified at will, which will affect the test results.)
In the <Calibration Interface>, you can calibrate Route coefficients and Angle coefficients. You can also set Route Speed, Torsion Speed, and Half Period, and measure RoutePeriod and Torsion Period.
1) 400 degree torsion time: (QEI is connected to the encoder output of the torsion motor driver during the test)
The time it takes to twist the motor by 400 degrees.
After setting the torsion speed, first return to the position, press the “torsion test” button, and the torsion motor will rotate for a certain angle and then stop. Look at the actual torsion Angle and adjust this value so that the actual torsion Angle is equal to 400 degrees.
2) 440 degrees torsion time: the time required to reverse the motor to 440 degrees.
The test method is the same as the 400 degree twist time.
3) 400 degree return waiting time: this time is the time to wait for returning after reversing 400, which is used to meet the Period requirement of Route 80mm.
4) 440 degrees return waiting time: this time is the time to wait for returning after reversing 440, which is used to meet the Period requirement of Route90mm.
5) Full Period and Half Period: It is used to display the time of Full Period and Half Period during RoutePeriod and Reverse Period tests.
6) Half-Period setting: This value is the waiting time after the completion of the Route depression process, which is half of the full Period to meet the Period setting.
7) Route speed, twist speed:
The pulse value is the Route motor speed and torsion motor speed when the RoutePeriod (45/min) is satisfied.
8) Return parameters: Return Route 1, 2 and return speed 1, 2, with the
return action of Route motor to make the Route value more accurate when the Route motor stops.
Return torsion: cooperate with the action of the torsion motor to make the Angle value more accurate when the torsion motor stops.

SHANDONG DRICK INSTRUMENTS CO.,LTD
Company Profile
Shandong Drick Instruments Co., Ltd, is mainly engaged in the research and development, manufacturing and sales of testing instruments.
The company established in 2004.
Products are used in scientific research units, quality inspection institutions, universities, packaging, paper, printing, rubber and plastics, chemicals, food, pharmaceuticals, textiles, and other industries.
Drick pays attention to talent cultivation and team building, adhering to the development concept of professionalism, dedication.pragmatism, and innovation.
Adhering to the customer-oriented principle, solve the most urgent and practical needs of customers, and provide first-class solutions to customers with high-quality products and advanced technology.

